How To Write A Check Correctly
Whether you're paying your monthly rent or handing in a deposit on a new car, chances are you're going to have to know how to write a check. Especially in the United States where this seemingly outdated practice is still used in full form, it doesn't look like you'll be packing your checkbook away any time soon. Unlike other countries around Europe, like the Netherlands, Poland, Denmark, and Finland which have long since ditched the practice of manually writing checks, Americans have hung onto this method of payment with the average U.S citizen writing upward of 38 checks a year, according to The Verge.
Although there are plenty of online options when it comes to wiring money, such as Venmo, Paypal, and Zelle, it is apparent that certain generations of consumers simply don't fully endorse the electronic age of money transfers. This could also, in part, be because the major banking systems across the United States still haven't entirely adopted the process as well, thus blocking the trickle-down effect that would make the practice easier and more available to consumers.
For the time being, though, if it looks like using checks is going to be a necessity as part of your annual banking routine, it would be extremely helpful to know how to properly write one. Now let's take a look at the information that's already on your checks at home and what you need to fill out.
Understanding the information that is already on your check
If it's your first time ever writing a check, then there's a chance that all those empty spaces may seem a little daunting. But, when you take your time and work on it step by step, you'll find you can easily get all the relevant information needed for a successful transaction.
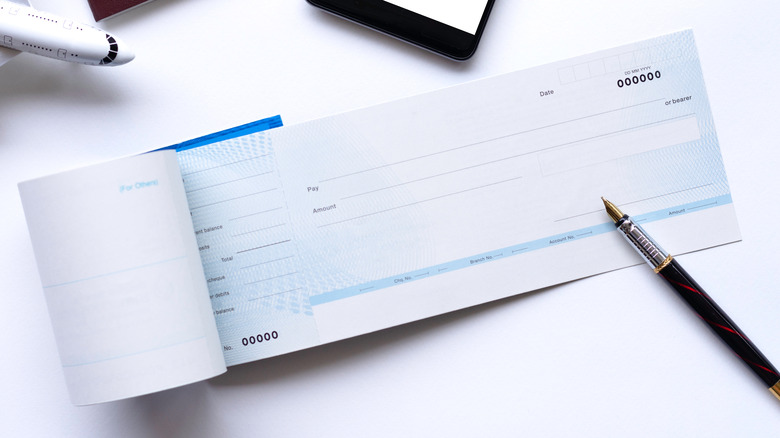
At first glance, you'll notice that there are already plenty of details printed on your check before you have even picked up a pen. In the top left corner, you'll either have blank lines in order to write your name and address or those details will already be conveniently printed there for you. Across from that — located over in the top right corner — you will have the check number. Each check will have a unique number that usually counts from the first one you've associated with your personal or business bank account. This number is useful when you need to reference a particular payment so that you can track it for your own financial records.
Looking to the bottom portion of the check, you'll notice a series of three sets of digits separated by some space in between them. The first set corresponds to your bank routing number, which references the location of your bank; then there are the digits that represent your personal account number; followed by the check number, which coincides with the number in the top right corner.
Steps to filling out your information on a check

Now it's time to fill in your check. When you write out a check, it should always be done with a black or blue ink pen. Never use a pencil as the information you write could be erased and altered.
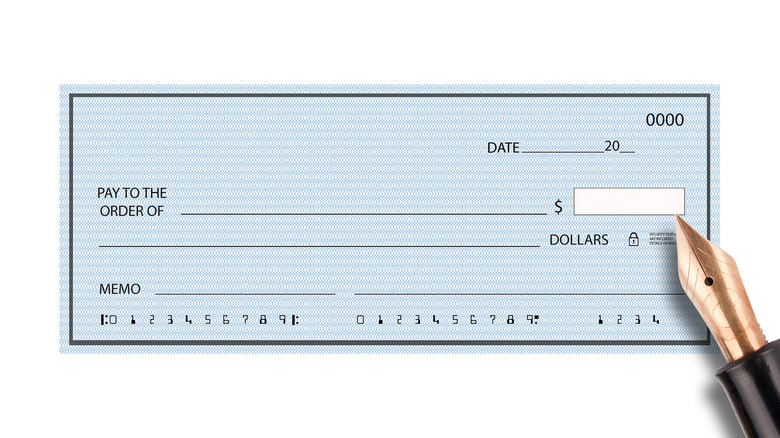
First, start with the date, which you can jot down in the upper right corner. For most of the world's countries, this is written as day, month, and year; however, in the United States, it's typically written in the order of month, day, and year. Next, you'll write down who the check is for beside the "Pay to the order of" line. This can be an individual or business. Always be certain you print neatly and avoid using cursive writing for the sake of legibility. Then, register the amount the check is worth in numbers beside the "$" sign.
Underneath that, there will be space to correctly write down the check's worth in words. For example, a check for $104.35 will be written as "One hundred and four dollars and 35/100." From there, you now have the option of filling in the "Memo" portion of the slip located at the bottom left area of the check. This can be useful if you need to document the reason for the check, such as "January rent" or "Payment for invoice #001" as an example. Lastly, you must endorse the check with your signature on the far right. Once you do so, you'll have successfully and correctly written out a check.